

ABS ROG Gundam Limited Edition Gaming PC – Intel i9 11900K
2,870.00 €
- CPU: Intel Core i9-11900K 3.50GHz (5.30GHz Turbo), 8-Core 16-Thread
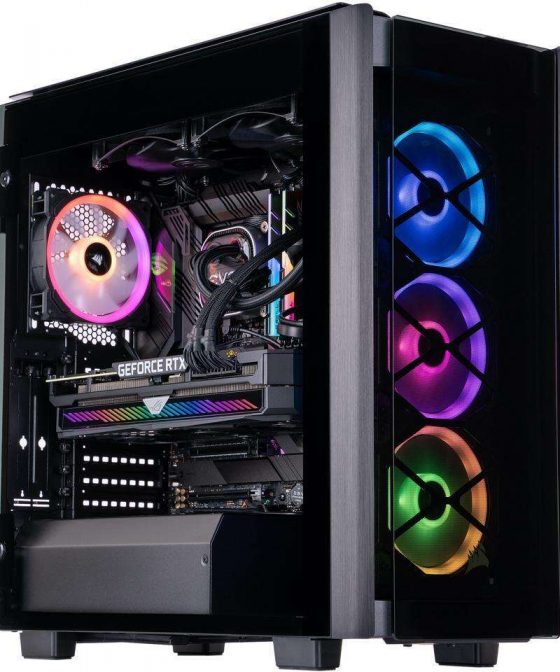
- GPU: ASUS ROG STRIX GeForce RTX 3080 10GB GUNDAM EDITION
- Motherboard: ASUS Z590 Gundam Edition ATX Motherboard (Wi-Fi 6)
- RAM: G.Skill TridentZ RGB 32GB DDR4 3200MHz (2 x 16GB Kit)
- SSD: 2TB Intel 670P M.2 NVMe SSD
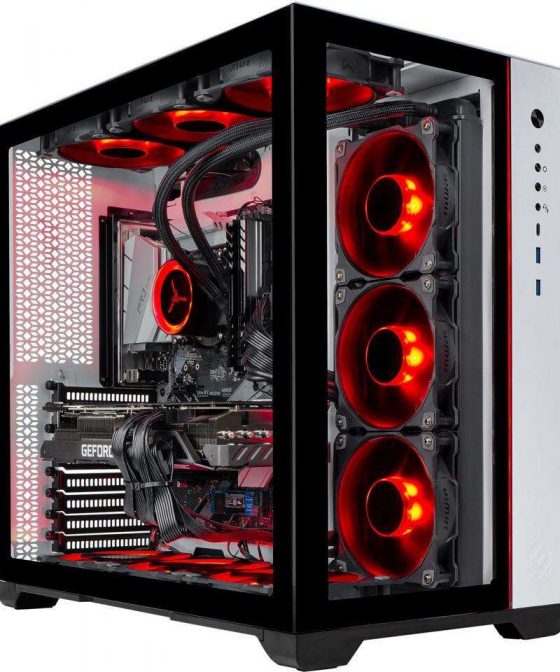
- CPU Cooler: ASUS ROG STRIX LC 360 RGB GUNDAM EDITION
- PSU: ASUS ROG STRIX 850W 80 Plus Gold Gundam Edition
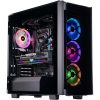
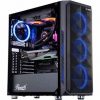
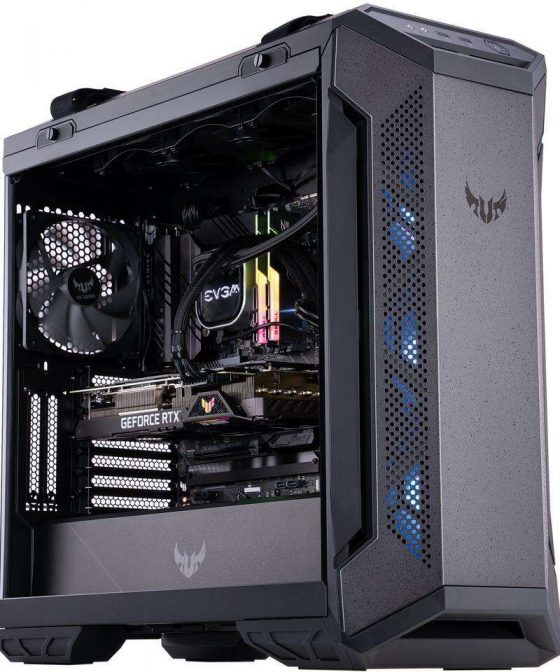
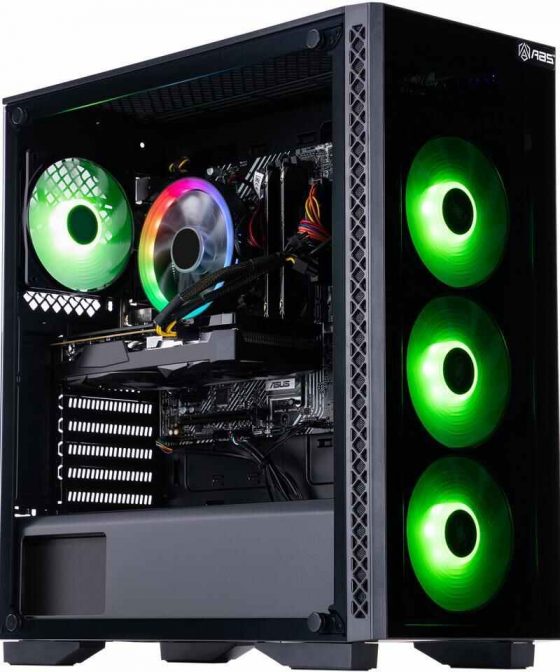
- Case: ASUS ROG STRIX Helios Gundam Edition Gaming Case (4 x USB 3.1 Gen1 Front I/O Ports, only 2 activated)
- WiFi: Yes
- Bluetooth: Yes
- VR Ready: Yes
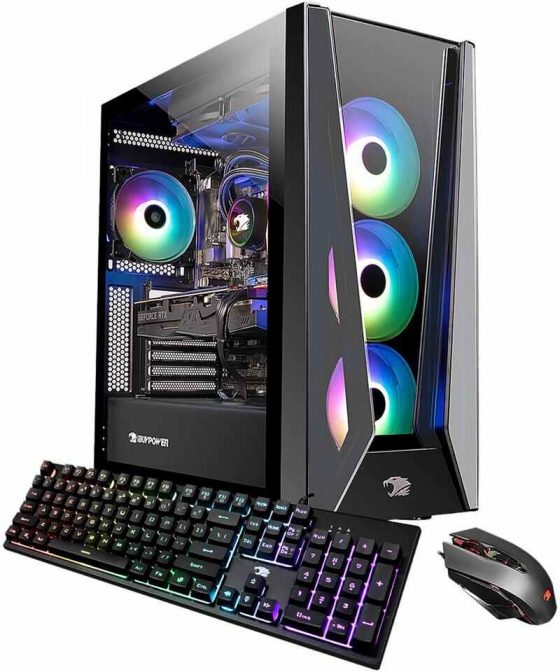
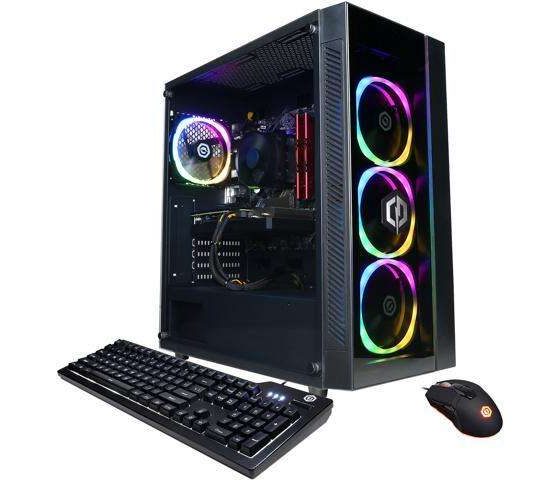
- Peripherals: Gaming Keyboard and Mouse (ASUS ROG STRIX Scope TKL Gundam Edition Keyboard and ASUS ROG STRIX Impact II Gundam Edition Gaming Mouse)
- Operating System: Windows 10 Pro 64-bit (free upgrade to Windows 11 upon release)
- Dimension: 23.27″ x 9.84″ x 22.24″
- *The Windows 11 upgrade will be delivered to qualifying devices late 2021 into 2022. Timing varies by device. Certain features require additional hardware (see aka.ms/windows11-spec)
- CPU: Intel Core i9-11900K 3.50GHz (5.30GHz Turbo), 8-Core 16-Thread
- GPU: ASUS ROG STRIX GeForce RTX 3080 10GB GUNDAM EDITION
- Motherboard: ASUS Z590 Gundam Edition ATX Motherboard (Wi-Fi 6)
- RAM: G.Skill TridentZ RGB 32GB DDR4 3200MHz (2 x 16GB Kit)
- SSD: 2TB Intel 670P M.2 NVMe SSD
- CPU Cooler: ASUS ROG STRIX LC 360 RGB GUNDAM EDITION
- PSU: ASUS ROG STRIX 850W 80 Plus Gold Gundam Edition
- Case: ASUS ROG STRIX Helios Gundam Edition Gaming Case (4 x USB 3.1 Gen1 Front I/O Ports, only 2 activated)
- WiFi: Yes
- Bluetooth: Yes
- VR Ready: Yes
- Peripherals: Gaming Keyboard and Mouse (ASUS ROG STRIX Scope TKL Gundam Edition Keyboard and ASUS ROG STRIX Impact II Gundam Edition Gaming Mouse)
- Operating System: Windows 10 Pro 64-bit (free upgrade to Windows 11 upon release)
- Dimension: 23.27″ x 9.84″ x 22.24″
- *The Windows 11 upgrade will be delivered to qualifying devices late 2021 into 2022. Timing varies by device. Certain features require additional hardware (see aka.ms/windows11-spec)
Cant find what you are looking for? Please contact us and we will love to assist you in every way possible.
8 reviews for ABS ROG Gundam Limited Edition Gaming PC – Intel i9 11900K
Add a review
Related products
2,684.00 €

1,849.00 €
2,349.00 €
1,880.00 €
Gaming Desktops
1,912.00 €
Gaming Desktops
ABS Master Gaming PC – Intel i5 10400F – GeForce RTX 3060 Ti
979.99 €
Matte –
Amazing collaboration between Asus and Gundam
Banky –
Pros: Its very thematic to the Gundam series.
Aesthetically pleasing to the eye and is for anyone even if they are not a fan off Gundam or anime in general. It is super sturdy chassis and the tempered glass is held by plastic prongs that can attached the case. Plus it is super easy to eject with a push of a button. The chassis has these sturdy rubber stands and does not slide which is a plus.
The delivery was fast and I can tell my delivery driver was having issues with how heavy it was so I had to help him. It was packed neatly and securely.
The 3080 Gundam edition is beautifully designed and its interesting that it requires three pcie pins. Its a heavy boy indeed. Other than that, the cables management was superb, but I still went in and did some tweaking to suit my taste because I like it tight.
Cons: Lol it ate 4k of my wallet. Jokes aside here are the cons.
Just like the other reviewers, My issue with this is I cant seem to activate the 2 TB of storage that was offered. Its only showing less than 500 GB of storage. Its just got out of the box when I did my video (make sure to check it out) and I have yet to open up the motherboard and check if its nvme m.2 or ssd after the Fourth Of July. Ill do a boot and see the bios. I should probably do that.
I also cant seem to work the RGB button even after checking all the cables. I will try one more time. I think I may need to use the aura sync application so I will try that out.
Anyways ABS, please contact me please if everything was suppose to be as advertised, but I will try to reboot and change my review after to a five star if everything is fixed.
Colli –
Build came with everything that was on the description. The drive is a 2TB one that it’s partitioned into 4 volumes, 1 is C, 2 are recovery or other and 1 big one is the data one. If you want to have all of the 2TB into one volume, you will have to then delete the other partition (data one) and then add the unallocated space to the main partition (C). Plenty of YT videos in this.
Also, as with many builds, this is not overclocked. Feel free to use the AI in the bios to get a decent overclock including the XMP profile.
As a last note, if you want to get everything RGB working, you will have to manually go and download Armoury Crate from their website to make it work. When you turn the computer on, it’ll try to download it but fails (at least mine did).
Overall, while this has a premium price (GUNDAM + ROG + Market prices) it’s still a great build that will surely play and run everything you’ll need.
Lil –
The M.2 drive seems to either NOT be 2TB or was partitioned to be much smaller than it is. This was also stated in another review.
– The RGB lighting are not all in sync and for some reason, is not syncing to master configuration. This was not in any manuals and I’m kinda learning it as I go. Out the box, only the RAM RGB config was allowed. I had to hunt down drivers from the Asus website to get everything else to show up in Aura, but now the RAM isn’t showing smh. So now I have to try to get the RAM to display again under the Aura application as well as saving to the master configuration so the colors of my machine wont default back to spectrum colors upon shutdown/restart.
– My tempered glass was slightly scratched when it arrived, but I get it. It was 78lbs and moving through who knows what part North America to arrive at my home.
Og –
Beautiful aesthetic. Everything boots up fast and efficiently.
Rollins –
I’m pretty satisfied with the build. Everything works for the most part and I definitely feel like I got most of my money’s worth. IDK what is up with the M.2 drive space and the RGB, but everything else is great. It would be a perfect purchase otherwise. I don’t regret my pre-order purchase.
Ethan –
My only complaints are first and foremost the front panel was scratched (I added a picture and it was sent like that, it was packaged well. And there were no marks on the front of the box) poor form to intentionally send a damaged product.
Another slight complaint is that I didn’t get all of the boxes of the parts (I like to collect…) And I also would have liked to know where the things came from (was given a bag of all the extra stuff)
Glock –
I pretty have the same opinion as the other reviewer as far as setup, quick boot time, LED, and the overall aesthetics. Now as for the SSD while it’s true that the C drive is only 446GB as oppose to the 2 TB as advertised and that is because the drive has been partitioned rendering most of the space unused. After accessing the partition window through the search bar next to the start, you’ll find that the disk is split into 4 parts. 100 MB EFI System Partition, C: 446GB, 498 MB Recovery Partition, and 1460.6 GB Basic Data Partition (basically unused). Right click on the last partition and select the Change Drive Letter and Paths option, Select the Assign the Following Drive Letter and on the drop down box choose which letter to assign it then select the OK button, this will now show the new drive in the This PC window. You can check the images I’ve uploaded to have a better understanding of the step. One last thing when I tried installing the Stream Launcher in the new drive for some reason it wouldn’t let me install it and the reason why is because it needed a folder to install into so I went and created a folder in the drive and it installed without any more issues. I also and installed Battle.net and Ubisoft Connect launchers to see if it does the same thing but those didn’t give me the same issue like with Steam. So I’m not sure if it’s just me but just in case if it happens to any of you that is the reason why